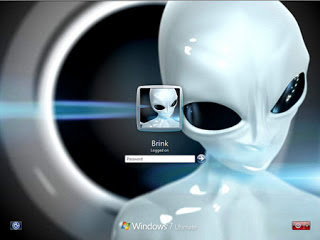
How to Change the Logon Screen in Windows 7
Step-by-steps :
1. Win + R then type regedit and ok
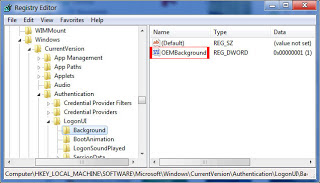
2. Then search in the regedit like this
HKEY_LOCAL_MACHINE \ SOFTWARE \ Microsoft \ Windows \ CurrentVersion \ Authentication \ LogonUI \ Background
3. Double click on OEMBackground, change the value to 1
4. If no OEMBackground is the purpose, you can make it by right click> New> DWORD 32-bit Value. And name OEMBackground
5. Close the Registry Editor
6. Prepare the image you want to make the background for the Logon Screen. Keep the image has the same resolution size with a resolution of your computer. And file size not more than 256kb
7. Change the name of the image file into backgroundDefault.jpg (should. Jpg)
8. Copy the image and open Windows Explorer, go to C: \ Windows \ System32 \ oobe \ info \ backgrounds. Then paste your image there.
9. Then restart the computer / laptop
10. Good luck


thank you very much
ReplyDeleteLaptop Repair Center, we provide on-site support services for only post warranty laptops. If you want to repair your laptop in front of your eyesight, then you may call us +91-9891868324.
ReplyDelete